| View previous topic :: View next topic |
| Author |
Message |
Pierre Rivard
Joined: 25 Feb 2021
Posts: 378
Location: Montreal, Canada
|
 Posted: Tue Feb 22, 2022 8:22 am Post subject: Need advice about fender flares Posted: Tue Feb 22, 2022 8:22 am Post subject: Need advice about fender flares |
 |
|
A call to the experts. I'm trying fender flares for the first time
I did 6 small cuts perpendicular to the wheel opening, spaced about 1/8th inch
I then roughed up the flares by pulling outward these little fender sections
Then some flue, putty, sanding etc.
Photo below of progress so far.
I'm thinking there has to be a better way of doing this...
How do you flare fenders is basically what I need your help with.
Perhaps too late for this one but I want to do it better next time.
Thanks.
[url [/url] [/url]
_________________
"When you arrive at a fork in the road, take it" - Yogi Berra |
|
| Back to top |
|
 |
jh63fan
Joined: 10 Sep 2021
Posts: 366
Location: Tarheel State
|
| Posted: Tue Feb 22, 2022 9:21 am Post subject: |
|
|
| Personally, I like the way you are doing it. That is a true flare, not just a filler build-up. A little time with a dremel tool and some body filler and it should look great. Looks like you are workong on the Pearson GTO. |
|
| Back to top |
|
|
MarkJ
Joined: 29 Jan 2018
Posts: 1313
|
| Posted: Tue Feb 22, 2022 9:25 am Post subject: |
|
|
| Pierre, looks like a fabulous idea to me, and I will probably try it on my current build. The fenders on it are really not flared to the extreme that some are. The only problem might be if too much putty is used. If you could install little wedges of plastic in the voids instead, which I know would be a lot more work, you wouldn't have to worry about putty shrinkage in the future as much. I have some old builds that I look at now and the putty has really shrunk noticeably over the years. It doesnt happen right away, but if a lot of putty is used, it will eventually. |
|
| Back to top |
|
|
Dan Belcher
Joined: 10 Feb 2020
Posts: 194
|
| Posted: Tue Feb 22, 2022 10:53 am Post subject: |
|
|
| I'd also try using some "sprue goo" since in some situations it's better/easier/stronger than putty. Take a half-empty bottle of Tamiya extra thin cement and drop some pieces of plastic from leftover sprues/parts trees into it and let it melt. Then you can paint it on and let it dry back into plastic where it really becomes solidly joined to the body and behaves just like the plastic on the rest of the body. |
|
| Back to top |
|
|
jh63fan
Joined: 10 Sep 2021
Posts: 366
Location: Tarheel State
|
| Posted: Tue Feb 22, 2022 3:07 pm Post subject: |
|
|
| Should have mentioned this in my previous reply, but I use automotive polyester glazing for filler. Haven't had any shrinkage issues since it is catalyzed |
|
| Back to top |
|
|
Pierre Rivard
Joined: 25 Feb 2021
Posts: 378
Location: Montreal, Canada
|
| Posted: Tue Feb 22, 2022 6:06 pm Post subject: |
|
|
Thank you fellows. Your advice is much appreciated.
Going light on putty, little plastic wedges and sprue goo. Check, check, check!
Oh yeah, jh63fan you guessed right. Pearson GTO built off MPC production car.
The body is marginal but fixable, the rest of the kit is just a blob of unuseable plastic so I have some work to do...
_________________
"When you arrive at a fork in the road, take it" - Yogi Berra |
|
| Back to top |
|
|
afx

Joined: 28 Jan 2018
Posts: 270
|
| Posted: Wed Feb 23, 2022 7:25 am Post subject: |
|
|
I like "sprue goo" as well. Overtime the glue evaporates and the plastic re-hardens. To reactive it I just add a little liquid glue.
 |
|
| Back to top |
|
|
MarkJ
Joined: 29 Jan 2018
Posts: 1313
|
| Posted: Wed Feb 23, 2022 9:31 am Post subject: |
|
|
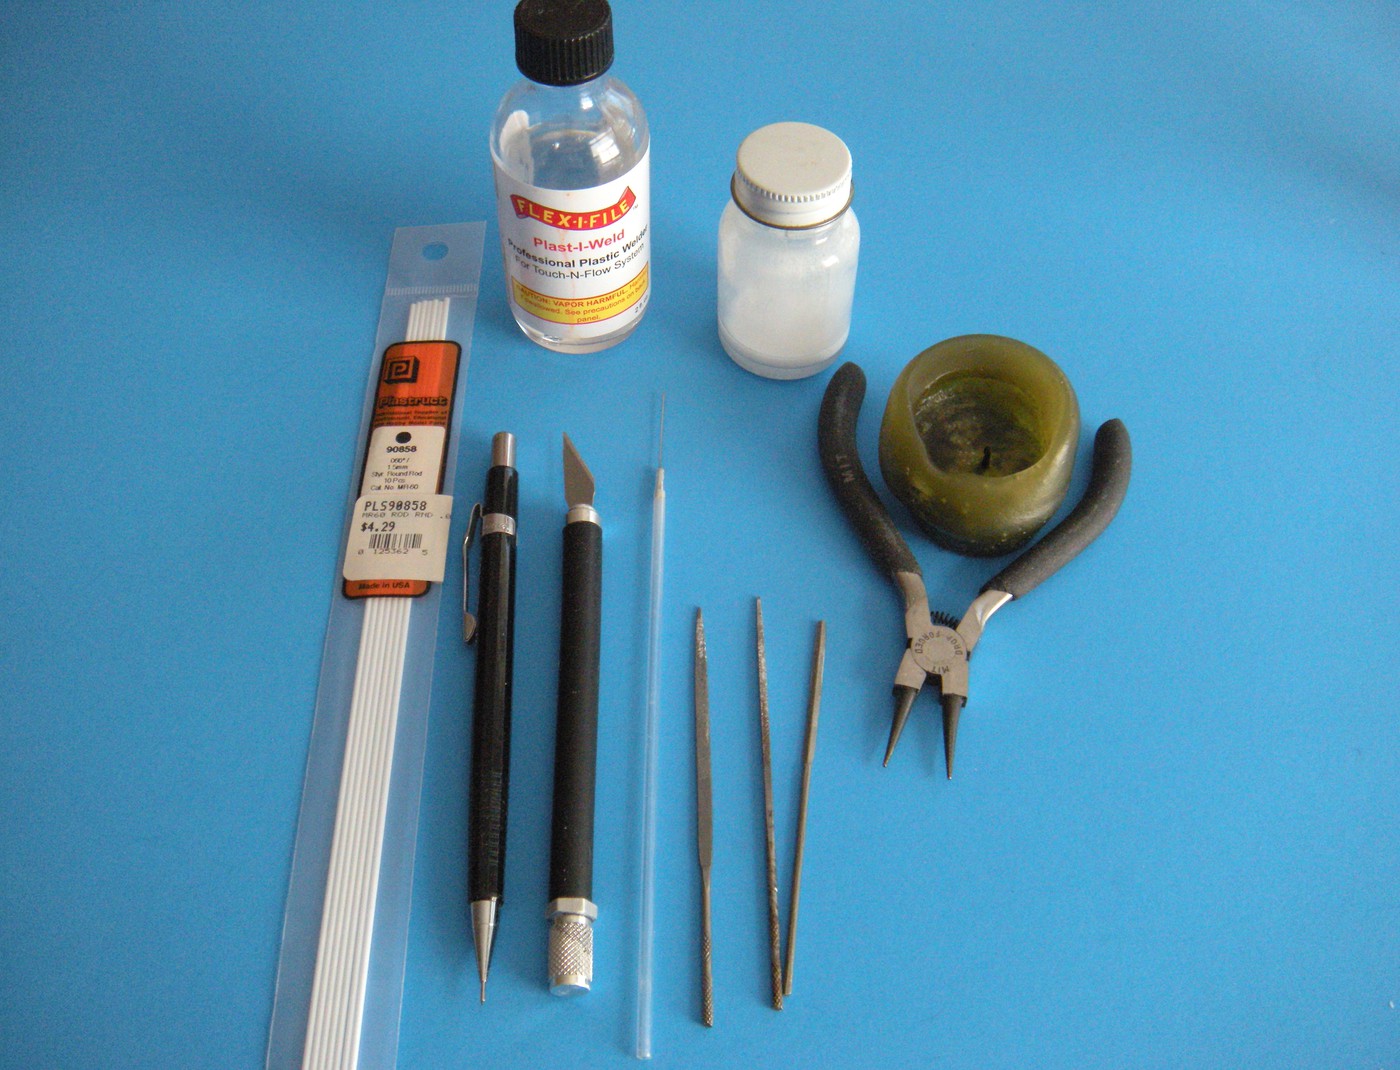
| AFX, I take it the small bottle with the white liquid is your sprue goo? I really need to give that a try. I would like to mix it up into a paste instead of a liquid. Is that possible? I'm going to be filling an area around some headlights and think that might just be what I need. |
|
| Back to top |
|
|
Lionpride
Joined: 28 Jan 2018
Posts: 249
|
| Posted: Wed Feb 23, 2022 11:23 am Post subject: |
|
|
| How does the candle fit in this process? |
|
| Back to top |
|
|
Dennis O
Board Moderator
Joined: 28 Jan 2018
Posts: 882
Location: Louisville, Ky.
|
| Posted: Wed Feb 23, 2022 11:47 am Post subject: |
|
|
As far a sprue goo, I used MEK as the solvent. Much cheaper but use it in a ventilated space, no flames and don't get the stuff all over you.
_________________
Dennis
Artificial Intelligence is no match for Natural Stupidity....... |
|
| Back to top |
|
|
afx
Joined: 28 Jan 2018
Posts: 270
|
| Posted: Thu Feb 24, 2022 9:36 am Post subject: |
|
|
| MarkJ wrote: | | AFX, I take it the small bottle with the white liquid is your sprue goo? I really need to give that a try. I would like to mix it up into a paste instead of a liquid. Is that possible? I'm going to be filling an area around some headlights and think that might just be what I need. |
Yes the bottle with white liquid. The consistency can be changed by the amount of liquid cement you add. When you first add the liquid cement the mixture is very thin/viscous. As the cement gets absorbed by the plastic it changes to more like paste/filler. To make it thinner again just add more liquid. |
|
| Back to top |
|
|
afx
Joined: 28 Jan 2018
Posts: 270
|
|
| Back to top |
|
|
Pierre Rivard
Joined: 25 Feb 2021
Posts: 378
Location: Montreal, Canada
|
| Posted: Thu Feb 24, 2022 10:36 am Post subject: |
|
|
Wonderful input from all. thank you so much.
Here's what it looks like so far taking in the advice from the team.
I had wedges glued in already and I sanded down, putty touch ups and more sanding.
I wanted to sand down more than build up to avoid too much putty based on Mark's advice.
I did not try the sprue goo but definitely next time.
this may have been extra challenging due to the very hard and brittle styrene on this "beautiful" orange body.
Fronts opened up and flared out.
Rears openings moved back 3 mm and back side flared up to counteract the body tapering...if that makes any sense.
[url
[/url
_________________
"When you arrive at a fork in the road, take it" - Yogi Berra |
|
| Back to top |
|
|
|

